 |
| Sample knit with DK weight yarn, US 7 needles |
Multiple: 2+1
Row 1 (rs): p1 *k1, p1
Row 2: k1 *p1, k1
Row 3: purl
Row 4: knit
Repeat these four rows for the pattern.
Happy Knitting!
|
| Sample knit with DK weight yarn, US 7 needles |
Multiple: 2+1
Row 1 (rs): p1 *k1, p1
Row 2: k1 *p1, k1
Row 3: purl
Row 4: knit
Repeat these four rows for the pattern.
Happy Knitting!
 |
| Sample knit with DK weight yarn, US 6 needles |
 |
| The wrong side looks nice too |
Multiple: 5 + 2
Row 1 (rs): p2 *k1, p1, k1, p2*
Row 2: k2 *p3, k2*
Repeat these two rows for the pattern.
Happy Knitting!
 |
| Sample knit with worsted weight yarn, US 6 needles |
Row 1: *k3, sl wyib, k1, p2
Row 2: *k2, p5
Repeat these two rows for the pattern.
Happy Knitting!
 |
| Sample knit with worsted weight yarn, US 6 needles |
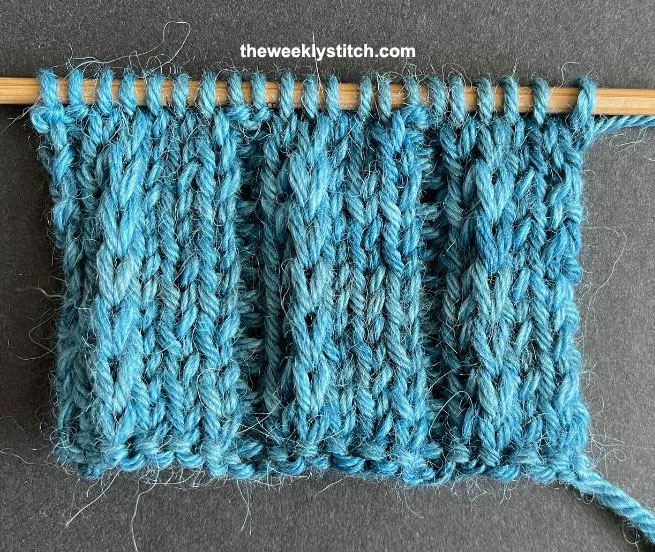
Rows 1 and 3 (rs): *k2, p1; rep from * to last 2 sts, k2
Row 2: *p2, k1; rep from * to last 2 sts, p2
Row 4: knit all sts
Repeat these four rows for the pattern.
Happy Knitting!
 |
| Sample knit with worsted weight yarn on US 8 needles |
Row 1 (rs): purl
Row 2: knit
Row 3: *k2, p2; end k2
Row 4: p2 *k2, p2
Repeat these four rows for the pattern.
Happy Knitting!
 |
| Sample knit with DK weight yarn, US 7 needles |
 |
| Sample knit with Sapphires-n-Purls Silky Alpaca Sport (Ocean Cliff colorway) on US 7 needles |
 |
| Sample knit with Sapphires-n-Purls Targhee Bulky on US 10 needles |

 |
| Sample knit with DK weight yarn on US Size 7 needles |
 |
| Sample knit with US Size 7 Needles on Sapphires-n-Purls Merino DK Yarn |
 |
| front |
 |
| back |
 |
| Sample knit with worsted weight yarn on US size 9 needles |
 |
| Sample knit with US Size 9 needles, SnP Sport Weight Yarn |
 |
| Sample knit with Sapphires-n-Purls Merino Worsted Superwash on US Size #8 needles |
 |
| Sample knit with unknown yarn on US size 6 addi bamboo clicks |
 |
| Sample was knit on bulky yarn, US Size 8 Knitters Pride Dreamz |
 |
| Sample knit with Plymouth Mushishi on US Size 8 Knitter's Pride Karbonz needles |
 |
| Sample knit with Plymouth Mushishi on US Size 8 Knitter's Pride Karbonz |
 |
| Sample knit with Caron Simply Soft on US Size 6 needles |

