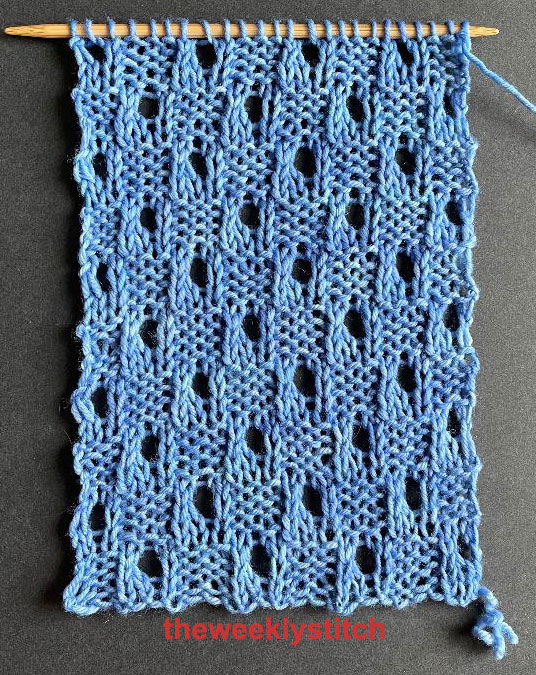
Sample knit with fingering weight yarn, US 7 needles
Sample knit with worsted weight yarn, US 8 needles
And here are both - each sample is six repeats of the pattern. Hopefully you can see the difference in size between yarn weights. You don't need to use light weight yarn to knit beautiful lace!
I copied this off from an old newspaper; unfortunately the name and edition date of the newspaper do not show on the copy. I have a lot of stitches saved from a paper out of New York from the late 1800's, so my best guess is that this particular lace comes from an edition of that paper.
A note as to Row 4 - the instructions for Row 4 begin as follows:
"Slip the first stitch, knit the second and slip the first one over the second, leaving only one stitch on the needle. Knit the next stitch and bind it off in the same manner. Continue this binding off until there are but fourteen stitches on the left hand needle, which, with one on the other will make fifteen stitches, the number started with."
I tried Row 4 with the first stitch slipped and also knitted as I show in the video. I don't think it makes any difference whether or not the first stitch is slipped, at least I didn't see any. Also, you will be binding off 4 stitches - unless you've made an error in a previous row, binding off 4 stitches should leave you with the required 15.
Cast on 15 stitches
Knit one row - this set up row is not repeated
Row 1: k3, yo, k2tog, k3, yo, k1, yo, k6
Row 2: k6, yo, k3, yo, k2tog, k3, yo, k2tog, k1
Row 3: k3, yo, (k2tog) twice, yo, k5, yo, k6
Row 4: Bind off 4 stitches - you should have 14 sts on the left needle and 1 on the right - k1, yo, k2tog, k3, k2tog, yo, k2tog, k1, yo, k2tog, k1
You may notice in the video that for the first sl 1-k2tog-psso, I slipped the stitch knitwise, and in the two subsequent repeats, I slipped it purlwise. As you can see from the picture of the sample, there really isn't a difference in appearance based on how the stitch was slipped. Slip the stitch however you prefer for this stitch pattern. Generally, if a pattern does not state which way to slip, you should slip purlwise. When a stitch is slipped purlwise, the stitch doesn't change - meaning the orientation of the stitch remains the same. Slipping knitwise twists the stitch so that the left leg of the stitch is in front of the needle.
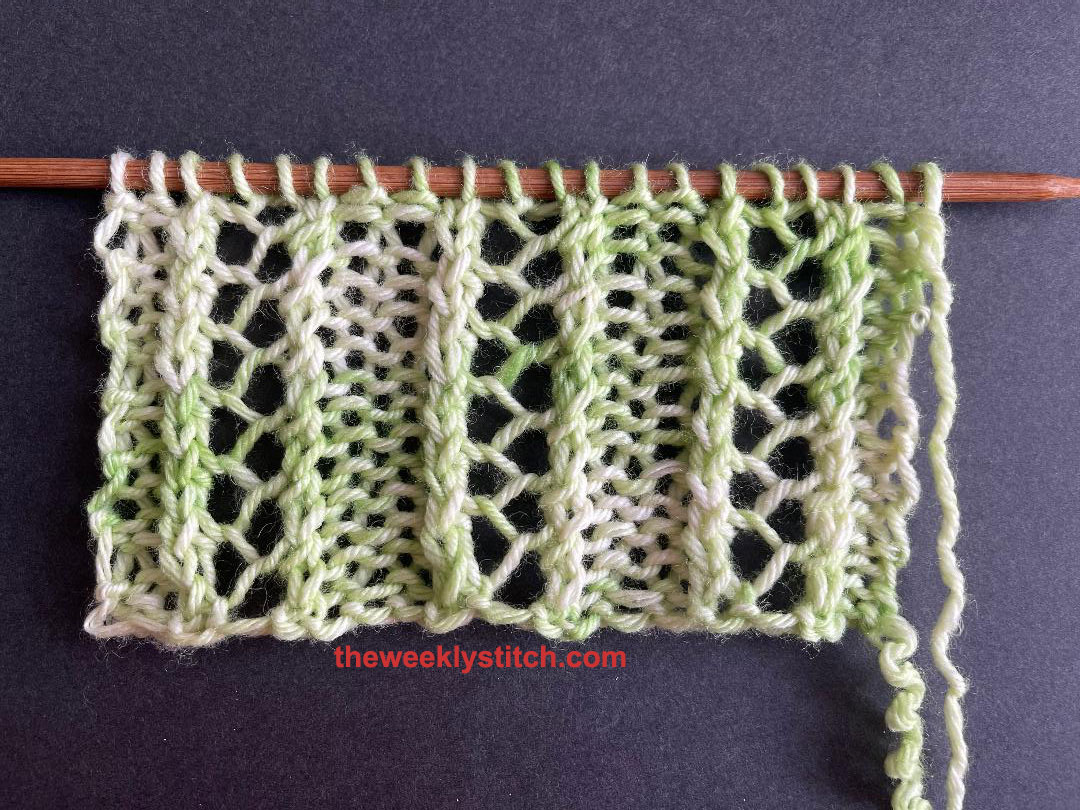
Sample knit with fingering weight yarn, US 7 needles
The back of this stitch pattern makes a neat bubble effect - good stitch for projects where the back will show.
Multiple of 4 + 3
**The yarn is to be held in back throughout the pattern when slipping stitches
Row 1 (rs): k2, p1 *yo, p4; end yo, p2, k2
Row 2: k3 *yo, sl 1 wyib, drop yo from previous row, k3
Row 3: k2, p1 *yo, slip both the yo and slipped st of previous row, p3; end p1, k2
Row 4: k3 *yo, slip 2 yo and slipped st of previous row, k3
Row 5: k2, p1 *yo, slip 3 yo and slipped st of previous row, p3; end p1, k2
Row 6: k3 *purl the four yo together and pull over the slipped st and off the left needle, then knit the slipped stitch, then with left needle pick up the four yo from the front and purl them together again, k3
Row 7: k2 *k2tog, p1, ssk, p1; end k2 instead of p1
Row 1 (rs) and Row 2: sl 1 *p1, k1; end p1
Row 3: sl 1, p1 *yo, skpo
Row 4: sl 1 *bind off until there is one stitch left on the left needle, p last st (there will be 3 sts total)
Row 5: sl 1, p1 *working into each yarn over space, insert right needle from front to back, wrap yarn twice and pull through, then insert right needle into same space again, this time from back to front, wrap yarn twice and pull through; end k1
Row 6: k2tog, dropping extra loop *p1-drop extra loop, k1-drop extra loop; end p1 (the last two sts will not have an extra loop)